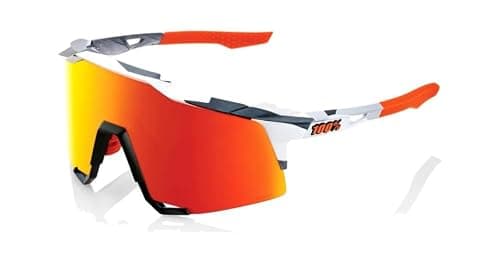
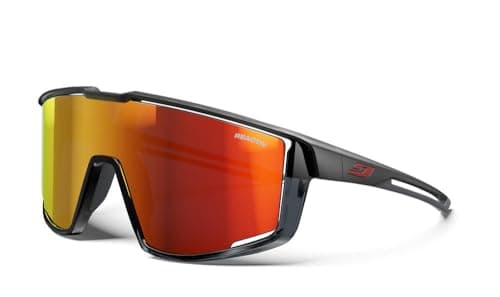
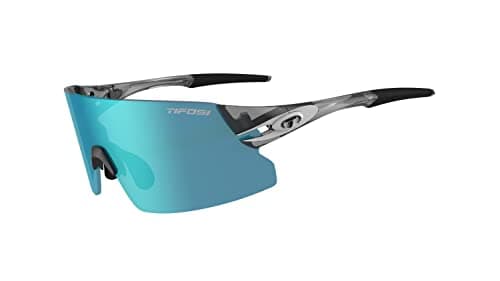
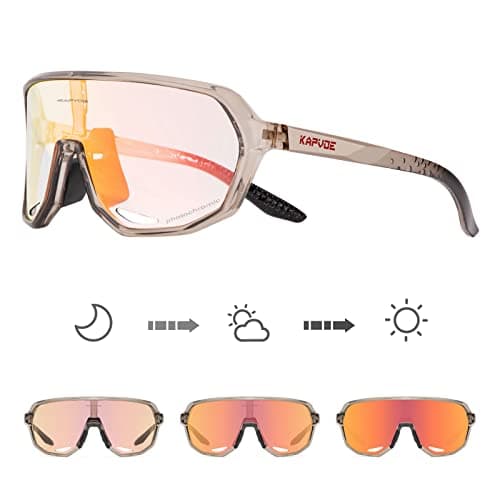
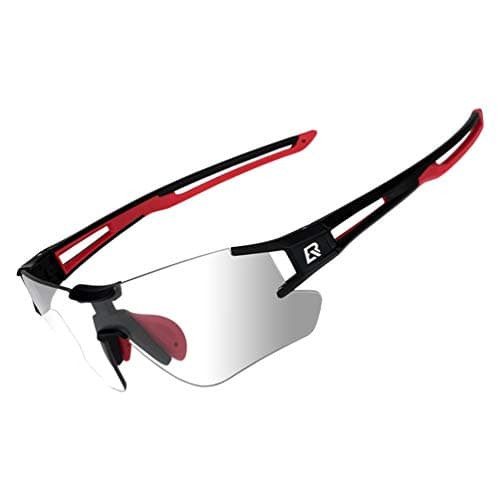
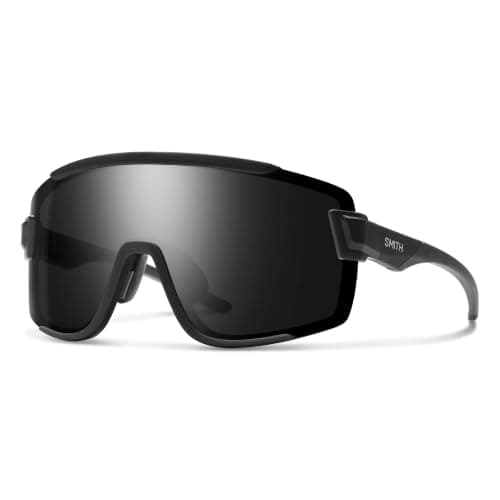
Buy the biggest lens you will tolerate, in a photochromic or contrast tint rather than a polarized one. The Smith Wildcat is the shape mountain-bike reviewers keep landing on because the coverage is closer to a goggle than a sunglass; the Tifosi Rail does most of that job for a fraction of the price, and the budget photochromics solve dappled light better than any fixed tint at any price.
Mountain biking is a different eyewear problem from road cycling, and the national cycling press treats it as one — Cyclingnews and BikeRadar both run dedicated MTB roundups separate from their road ones. Two things change. You are riding through things that hit you in the face — branches, roost off a front wheel, grit, insects — and you are riding through light that changes constantly as the trail moves in and out of tree cover.
1. Coverage is the whole point
On the road, coverage is about wind and low sun. On a trail it is about physical protection. That is why MTB eyewear has drifted steadily toward goggle-scale lenses: a big cylindrical shield covers the area a branch or a rock would otherwise reach, and it keeps roost out of the corner of your eye where a small lens leaves a gap.
The costs are honest. A bigger lens fogs more readily on a slow technical climb, because there is more surface and less airflow across it. And a goggle-scale shield looks like exactly what it is the moment you take your helmet off. If you ride mostly flowy trails in open terrain, a conventional sport shield is enough; if you ride tight, wooded, fast singletrack, the big lens is earning its keep.
2. Dappled light is the real lens problem
A trail that alternates between full sun and deep tree shade every few seconds defeats a fixed tint. Too dark and you are blind in the trees; too light and you are squinting in the open. There are two workable answers and both are on this page.
Photochromiclenses darken and clear automatically, which is the elegant solution: one lens, nothing to carry, nothing to swap mid-descent. The limits are real — they transition slower in the cold, they never reach the darkness of a dedicated bright-sun lens, and the transition takes seconds rather than being instant, so a very rapid sun-shade-sun sequence outruns them. Interchangeable lens sets are the other answer: cheaper per unit of optical quality, and genuinely better if you can predict the conditions and swap before you start. We compare the mechanisms in polarized vs photochromic and rank the photochromic field in best photochromic sunglasses.
3. Polarized is usually wrong on a trail
Same argument as road cycling, and slightly stronger. A polarized lens removes reflected light, and on a trail some of that reflected light is information: the sheen on a wet root, the shine on a slick rock slab, the glint that tells you a puddle is deeper than it looks. Polarization also dims LCD screens, so a bar-mounted computer or a phone gets harder to read at some head angles.
Add the fact that a polarized lens does nothing to help you resolve a root against loam in dappled shade — which is the actual visual task — and the case is clear. Contrast tuning is what helps there. Oakley's Prizm and Smith's ChromaPop are the well-known implementations, and both are deliberately non-polarized in their trail variants. The broader argument is in are polarized lenses good for cycling.
4. Impact resistance and fit
Every lens on this page is polycarbonate or a similar impact-resistant polymer rather than glass, which is the right material for a sport where the lens might meet a branch. Glass is optically clearer and it is the wrong choice here.
Fit needs to survive vibration, not just sweat. Grippy nose and temple materials that tack up when damp are the baseline; an adjustable nose piece is genuinely useful because it lets you set the lens height relative to your helmet, which is the thing that decides whether you are looking through the lens or over it in an attack position. And check the frame against your helmet — arms that clash with a helmet retention system are a daily annoyance.
How we ranked these
Coverage first, adaptability to changing light second, optical quality third, price fourth. That ordering is why the biggest and the cheapest photochromic both rank well while a premium single fixed tint does not top the list — a superb lens in the wrong tint for the moment is worse than an average lens in the right one. The method is on how we rate, and the scores are judgments from documented research rather than measurements we took.
Choosing an MTB pair
1. Buy coverage first
Bigger lens, more face protected. Accept the fogging and the looks if you ride tight wooded singletrack.
2. Solve the light, do not compromise on it
Photochromic for one-lens simplicity, an interchangeable set if you prefer optical quality and can swap before you ride.
3. Skip polarized
It hides the sheen on wet roots and slabs, dims your head unit, and does nothing for root-versus-loam contrast in shade.
4. Check it against your helmet
Arm shape and lens height relative to your helmet decide whether you are looking through the lens or over it when you get low.
5. Polycarbonate, not glass
Impact resistance beats the last increment of optical clarity on a trail. Every pick here is a polymer lens for that reason.